Writing text around a circle is a fun effect for logos, watermarks, and other designs. But what is the best way to make circular text in Photoshop?
Hi! I’m Cara and as a photographer and digital designer, I get really excited about silly things like circular text. Are you with me? Then come along and let me show you the best way to make circular text in Photoshop.
Note that the screenshots below are taken from Photoshop for Windows, if you’re on a Mac, they can look different.
Table of Contents
Why We Don’t Use the Warp Tool
I wrote a tutorial about how to warp text with the warp tool. If you are aware of this technique, you might think you can simply use the warp tool to arc your top text upward and your bottom text down. Boom, circular text.
Unfortunately, it’s not quite that easy. Using the warp tool to make circular text ends up looking a little amateurish. The letters end up slightly distorted and it’s really hard to get an accurate circle.
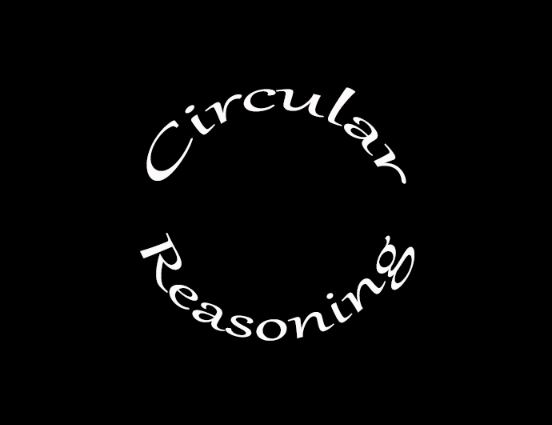
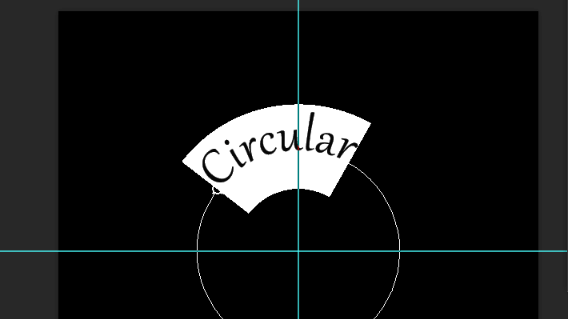
Check out this one I whipped up real quick. The letters are distorted on top (or bottom) and the circle appears to be slightly flattened.
It just doesn’t look quite right, see?
Now that you understand why you shouldn’t use the warp tool for this purpose, let me show you how you can do it.
Step 1: Set Up Some Guides
Open a new document by hitting Ctrl + N or Command + N on the keyboard. You can make it any size you like but I’ll stick with a square document to put my circle in the center.
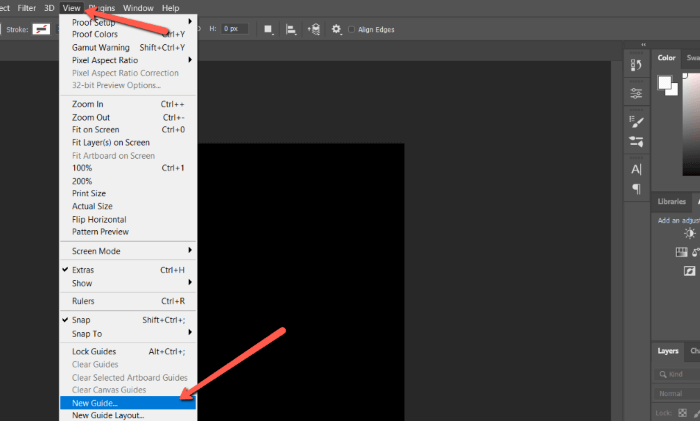
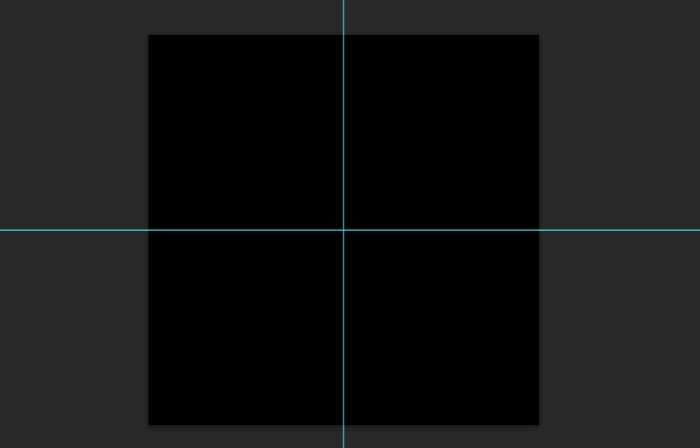
To center an object, we need to be able to find the center of the document. We’ll set up a couple of guides to do that. Go to View in the menu bar and go down to click on New Guide.
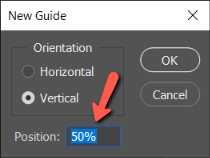
In the box that appears, select either the vertical or horizontal orientation and put 50% in the Position box. This will put the guide at the halfway point.
Repeat once more, this time selecting the other orientation. You should end up with two guides intersecting in the center of your document.
Step 2: Draw a Circle
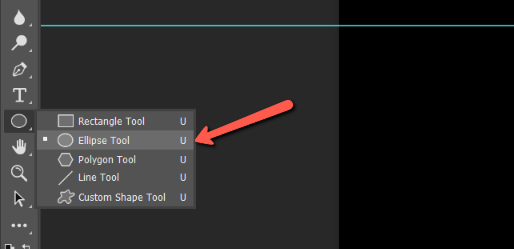
Now we need to create a circle to write the text around. Select the Ellipse tool from the toolbar. It may be hiding behind one of the other shape tools. Simply right-click on the tool to open up the family of tools and choose the Ellipse.
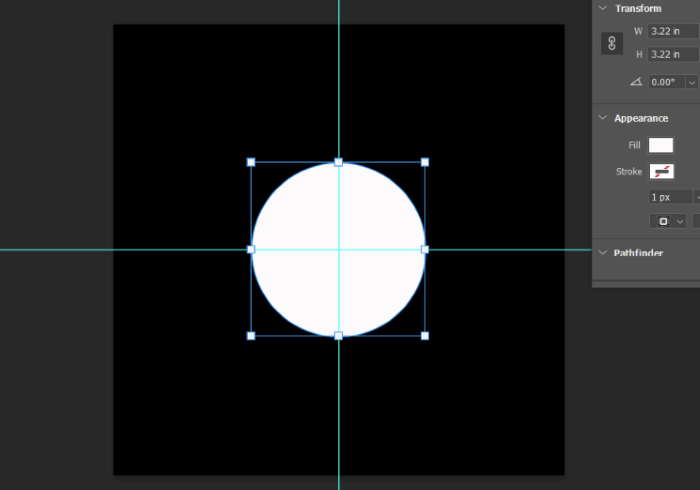
To place the circle in the exact center, click and drag the mouse from the point where your two guides intersect. Once you’ve started dragging, hold down the Alt and Shift or Option and Shift keys.
The Shift key constrains the ellipse to a perfect circle. The Alt or Option key will make the center of the circle snap to the point where you clicked as you continue dragging.
Step 3: Type Your Text
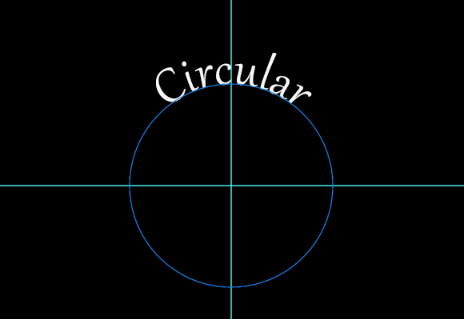
Select the Horizontal Text Tool from the toolbar on the left. The cursor will turn into what looks like a capital I (letter i) with a box around it.
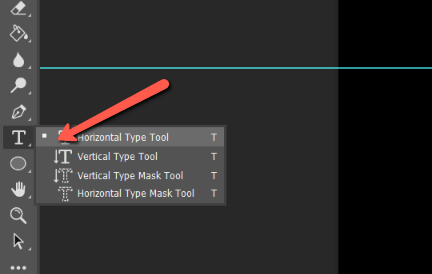
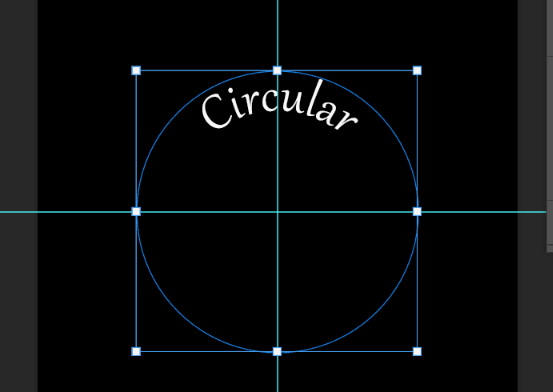
Position your cursor over the edge of the circle. When the box turns into a squiggly line, click and type your text.
If you start typing and nothing happens, check the color of your text in the Options bar. It may be the same color as the background.

Step 4: Refine Your Text
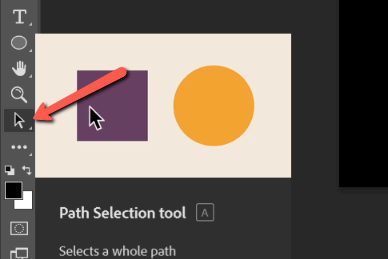
To straighten the text, hit the checkmark in the Options bar to accept the changes. Then select the Path Selection tool from the toolbar.
Now you can simply grab the text and drag it around. The text will stay stuck to the circle and rotate around it as you drag.
You can also change the font, size, color, etc with the settings in the Options bar.

Step 5: The Bottom of the Circle
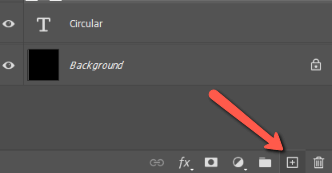
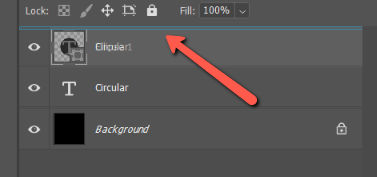
You can only put one set of text on a path, so we need a second one to do the bottom words. Let’s do it on a new layer, this makes it easier to make changes later. Hit the New Layer button at the bottom of the Layers Panel.
Select the Ellipse tool and make another circle. This one should be large enough to just touch the top of the letters of our first piece of text. Remember to hold Shift and Alt or Option as you drag.
When you accept the shape, the letters will disappear because the new layer is on top. Grab the text layer and drag it up until you see the blue lines on top of the circle layer. Let go and the words will reappear.
Select the circle layer once more and choose the Horizontal Text tool. Find the squiggly line on the circle, click, and type your text.
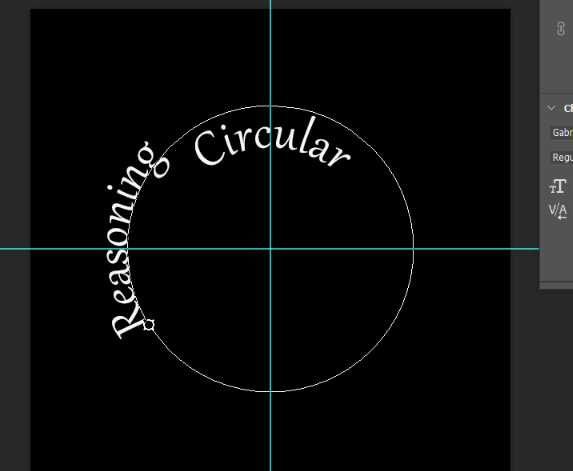
Notice that the text goes the wrong way at first. Select the Path Selection tool to reposition just as we did before. However, this time, also drag the mouse into the circle. This will bring the text inside the circle instead of sitting on the outside.
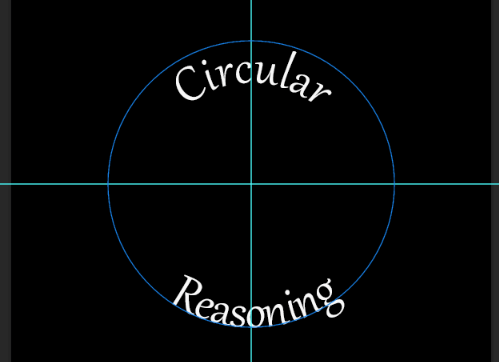
There you have it! Doesn’t that look much better than the quick one we did at the beginning? Sometimes it’s worth it to do things the long way.
Intrigued to learn more font tricks with Photoshop? Check out how to outline text here!
About Cara Koch